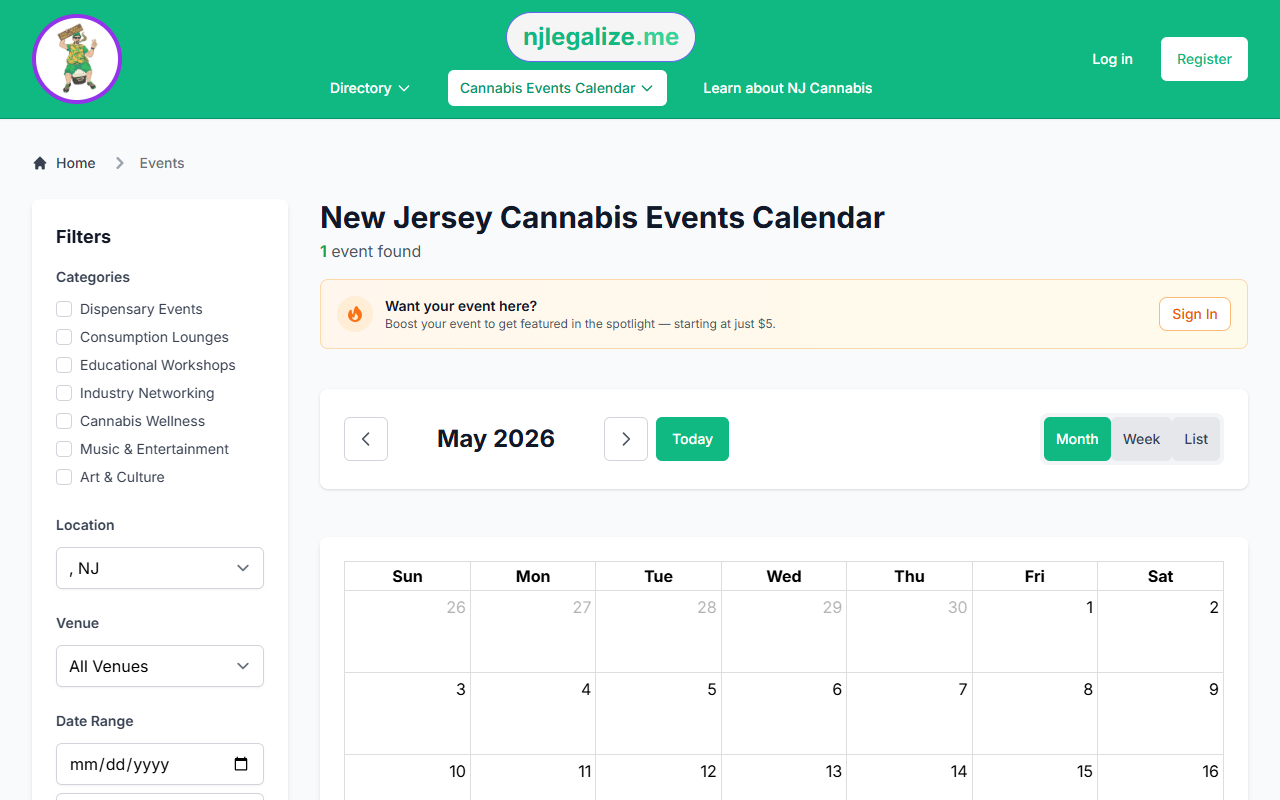
The njlegalize.me Events Calendar lets you do more than browse upcoming events — you can RSVP to save your spot, get a confirmation email, and download the event to your personal calendar. You can RSVP with a free account or as a guest using just your email.
Step 1: Find the Event
Head to the Events Calendar (the 📅 Events menu) and browse or filter for the event you want to attend. Click the event card to open the full event detail page.
Step 2: Click the RSVP Button
On the event detail page, you'll see the RSVP section with a prominent RSVP to This Event button. Click it to open the RSVP form — no login required.
If you already have a free account, sign in first so your RSVP appears on your My RSVPs dashboard. Guests can still RSVP without an account.
Step 3: Fill In Your RSVP Details
The RSVP form asks for:
- Email address (guests only) — required so we can send your confirmation link
- Name (guests, optional) — how the organizer sees you on the guest list
- Number of guests — how many people are attending with you (including yourself). Enter 1 if you're attending solo.
- Special requirements (optional) — note accessibility needs, dietary restrictions, or other information for the organizer. This field appears only on events submitted by community organizers, not on admin-curated listings.
Click Submit RSVP when you're ready.
Step 4: Confirm Your RSVP via Email
After submitting, your RSVP status will be Pending. An email will be sent to the address on your account (or the guest email you entered) with a confirmation link. Click that link to confirm your attendance — your RSVP status will update to Confirmed.
If you don't see the email within a few minutes, check your spam folder.
What If the Event Is Full?
If the event has reached capacity and the organizer has enabled a waitlist, you'll automatically be placed on the Waitlist rather than receiving a pending RSVP. You'll receive a waitlist notification email. If a spot opens up, the organizer can promote you from the waitlist.
Step 5: Download the Event to Your Calendar
Once your RSVP is confirmed, you'll see a Download .ics option on the event page. This creates a calendar file you can import into Google Calendar, Apple Calendar, Outlook, or any other calendar app — so the event shows up alongside your other plans.
Managing and Cancelling Your RSVP
Logged-in users can view all RSVPs from the My RSVPs dashboard, organized into Upcoming, Past, Waitlisted, and Cancelled tabs. Guest RSVPs are managed via the confirmation email link on the event page.
If your plans change, open the event detail page and click Cancel RSVP — you'll receive a cancellation confirmation email and the organizer will be notified.
Ready to find something to attend? Browse the Events Calendar now.